MCP server
With the Multiplayer MCP (Model Context Protocol), you can feed your copilots and AI IDEs the complete system context they need: user actions, traces, logs, requests, responses, header data, plus user annotations.
No missing data, no guesswork. Your AI tools can generate accurate fixes, tests, and features with minimal prompting.
Choose your preferred tool and follow the setup guide:
Prerequisites
If you haven't already, configure your Multiplayer session recordings by completing:
- STEP 1 - Client setup
- STEP 2 - Backend setup
Available features
- get_session_notes_by_session_id | Get user notes for a Multiplayer session recording
- get_session_by_id | Get the multiplayer session recordings by id
- list_sessions | List the Multiplayer session recordings parameters:
- skip | Number of items to skip, default is 0
- limit | Maximum number of items to return, default is 30
- name | Session name full or partial match
- startedAfterTimestamp | Session start time is bigger then unix timestamp
- startedBeforeTimestamp | Session start time is less then unix timestamp
- maxDurationInSeconds | Session is shorter then N seconds
- minDurationInSeconds | Session is longer then N seconds
- metadata | User defined fields, all unknown fields go here
- hasStarred | Has starred spans inside
- sortDirection | Sort direction, default -1
- sortKey | Session recording schema field name, default _id
- get_project_url | Get url of current authorized project within Multiplayer
Examples
Debugging
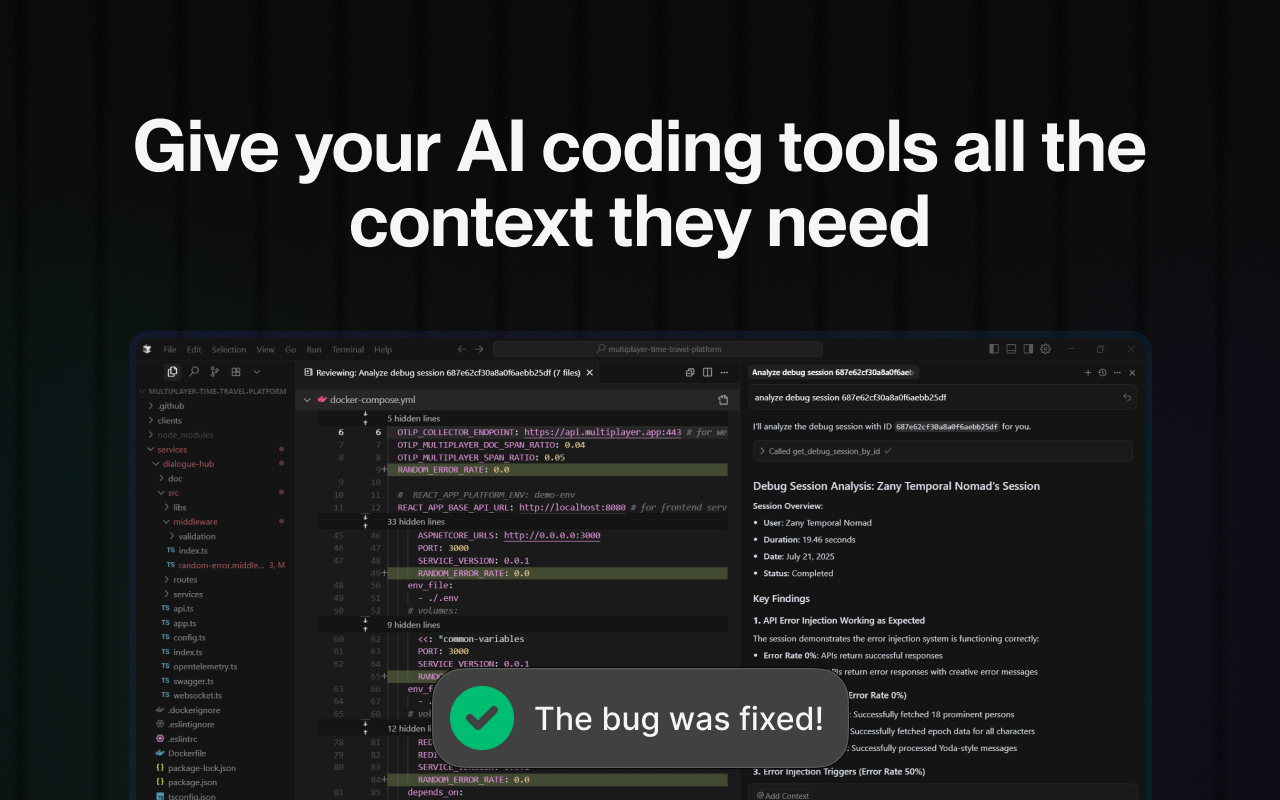
Priya C. (Developer, Insurance Company) uses Multiplayer MCP to debug their distributed system issues by providing Cursor with a full-stack session recording. Instead of juggling logs, traces, and Slack threads, she sends the session recording context directly into her AI IDE to diagnose and resolve the bug faster.
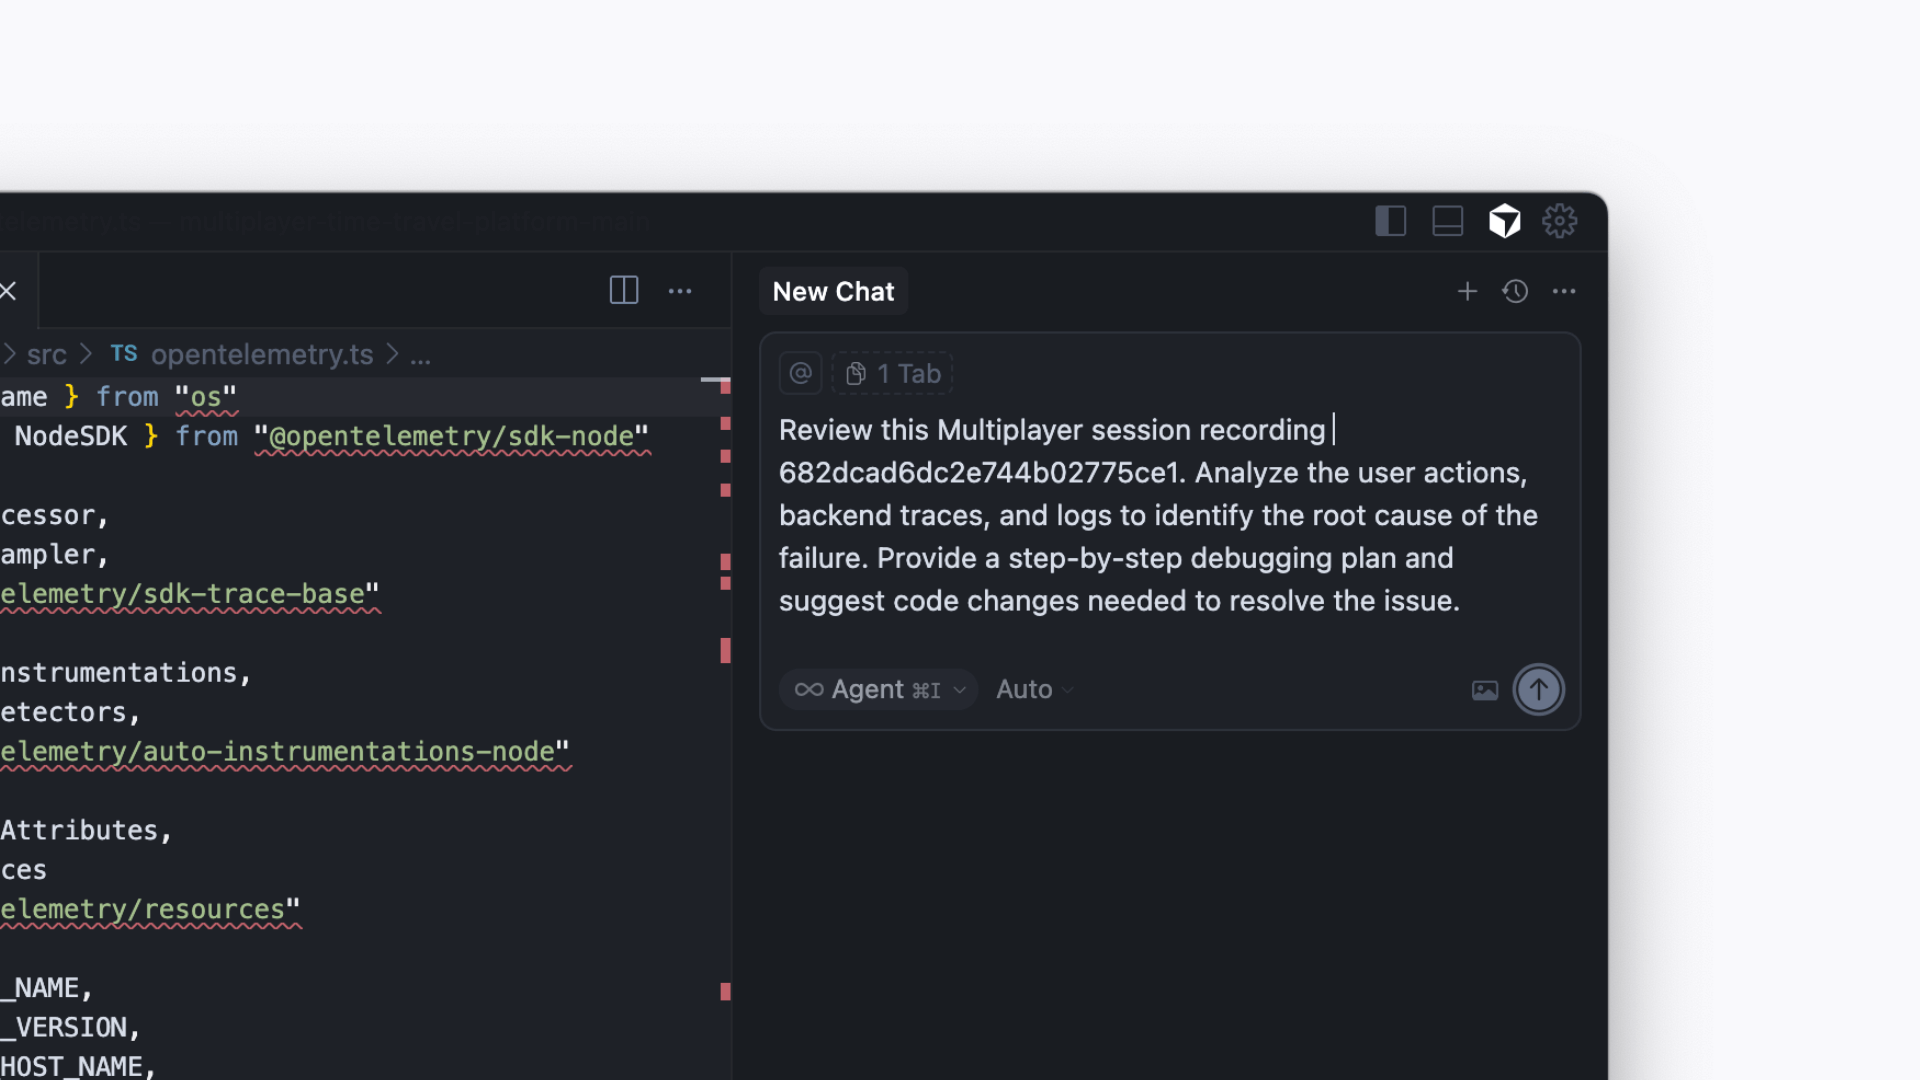
Review this Multiplayer session recording < Session Link Placeholder >. Analyze the user actions, backend traces, and logs to identify the root cause of the failure. Provide a step-by-step debugging plan and suggest code changes needed to resolve the issue.
Feature development
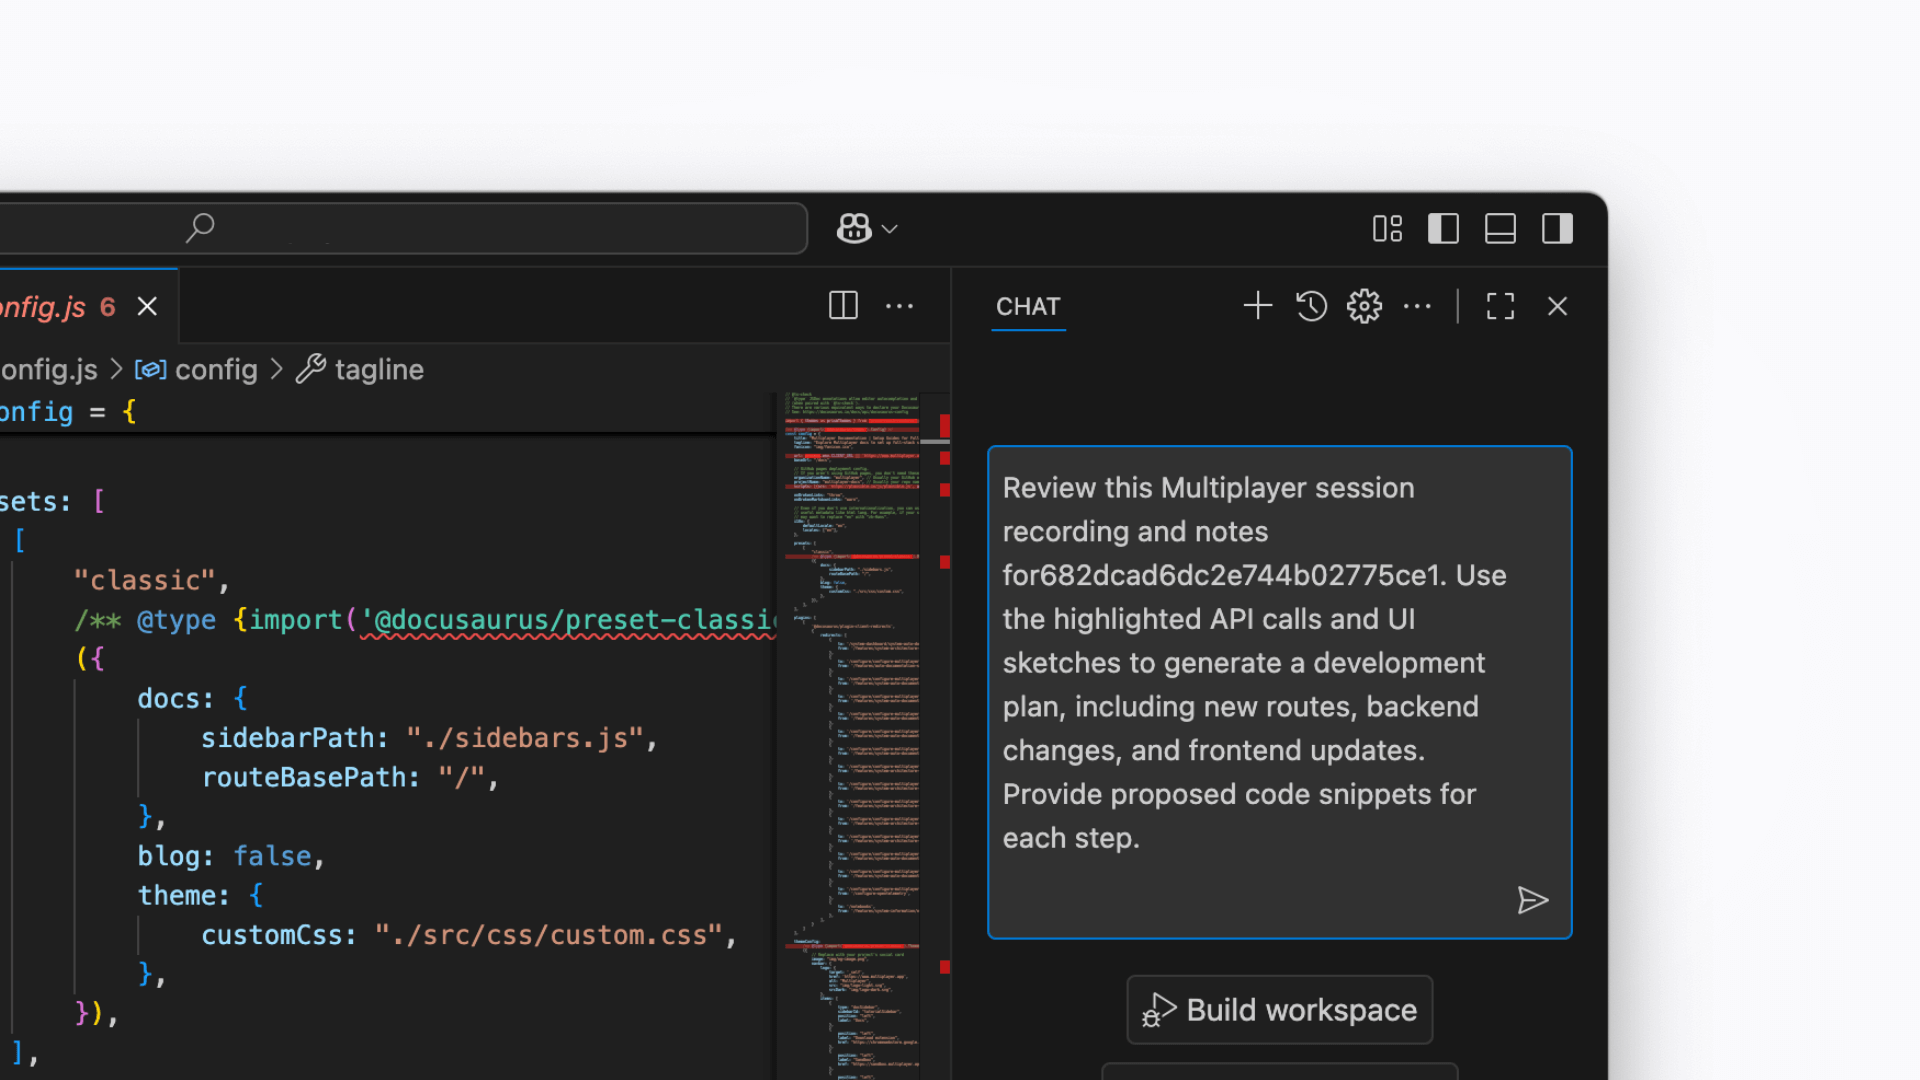
Luis G. (Principal Engineer, FinTech Company) uses Multiplayer MCP to transform full-stack session recordings into feature development plans. By annotating directly on session replays (highlighting API calls, backend traces, or UI elements) he provides his AI IDE with precise, context-rich requirements for implementing new features without ambiguity.
Review this Multiplayer session recording and notes for < Session Link Placeholder >. Use the highlighted API calls and UI sketches to generate a development plan, including new routes, backend changes, and frontend updates. Provide proposed code snippets for each step.
System understanding
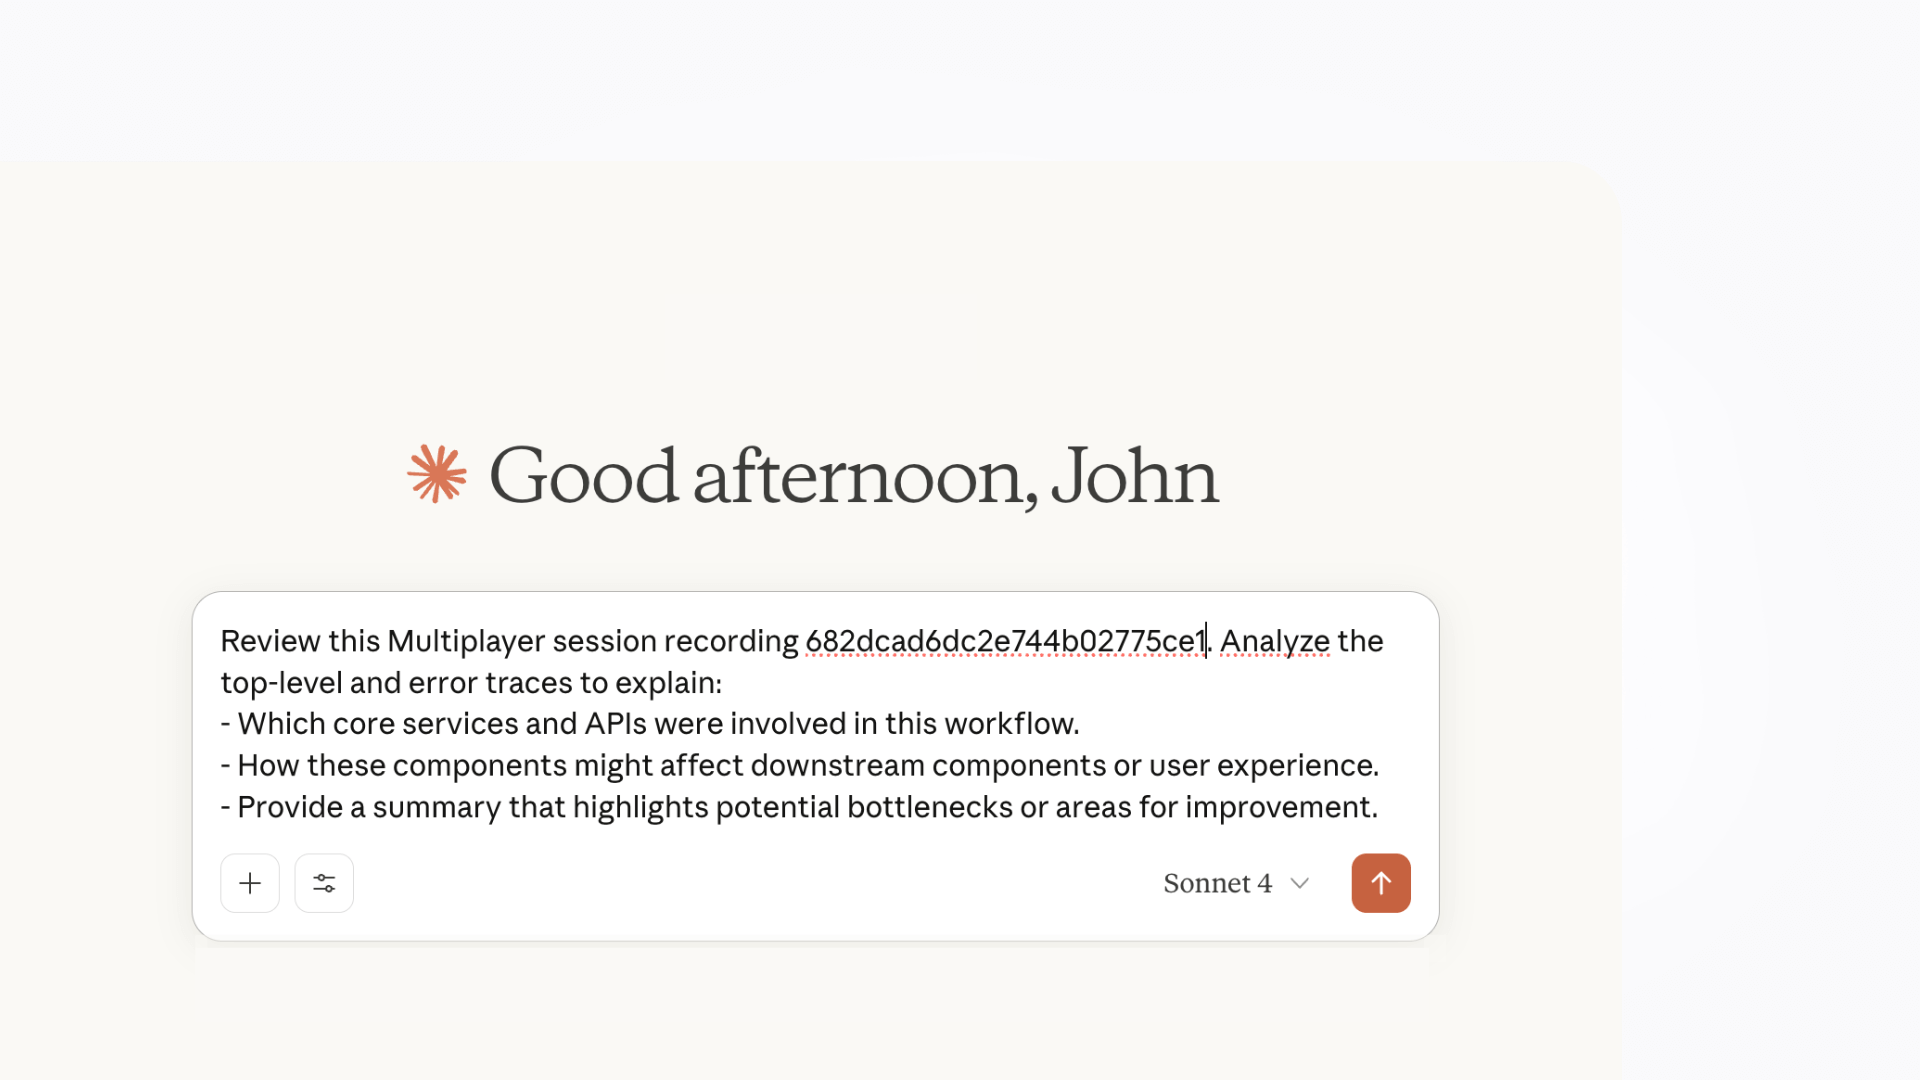
John V. (Product Manager, Commercial Bank) uses Multiplayer MCP to analyze full-stack session recordings and uncover how their complex system behaves under the hood. By feeding end-to-end data into his AI assistant, he can explore how features interact across services and anticipate the downstream impact of proposed changes before they’re implemented.
Review this Multiplayer session recording < Session Link Placeholder >. Analyze the top-level and error traces to explain:
- Which core services and APIs were involved in this workflow.
- How these components might affect downstream components or user experience.
- Provide a summary that highlights potential bottlenecks or areas for improvement.
Next steps
👀 If this is the first time you’ve heard about us, you may want to see full stack session recordings in action. You can do that in our free sandbox: sandbox.multiplayer.app
🚀 If you’re ready to trial Multiplayer with your own app, you can follow the Multiplayer configuration steps. You can start a free plan at any time: go.multiplayer.app
📌 If you have any questions shoot us an email! 💜